Revolutionize Your Home Security: How to Self-Host Frigate on Your NAS for Ultimate Surveillance
2025-03-30
Author: Sophie
What You Need for This Project
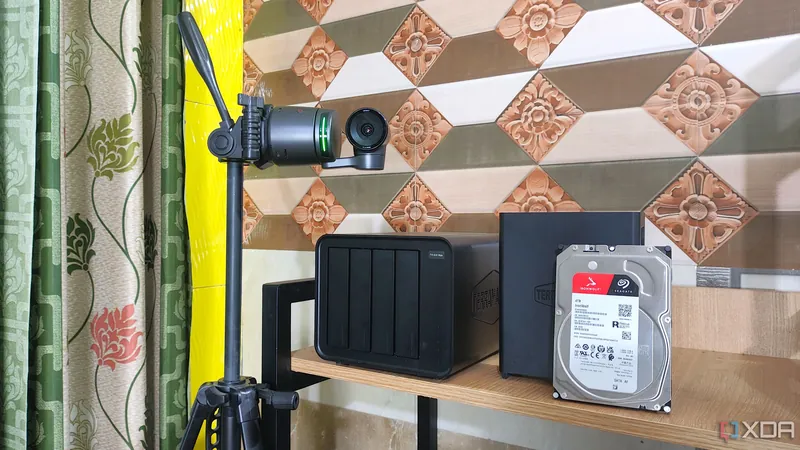
To embark on this exciting project, the primary component you'll require is a NAS. You can choose between a pre-assembled model or a custom-built server depending on your comfort level with technology. For optimal results, I utilized TrueNAS Scale as the operating system in this guide, but numerous alternatives are compatible with Frigate, including proprietary systems like Synology’s DiskStation Manager.
Start by organizing your storage; it’s advisable to create a dedicated dataset for your camera footage. For reliable long-term storage, consider using Surveillance HDDs, designed for continuous writing. If you opt for normal hard drives, just remember to select Conventional Magnetic Recording (CMR) drives over Shingled Magnetic Recording (SMR) to avoid sluggish write times. Lastly, ensure you have at least a couple of IP cameras, though you can enhance your setup further by integrating webcams via RTSP streams.
**Recommended Hardware:** - **NAS Device:** TerraMaster F4-424 Max or LincPlus LincStation N2 - **HDD:** Seagate IronWolf - **Cameras:** Anker eufy Security Indoor 2K Camera, Eufy Security Indoor Cam E220 - currently discounted at $56.
Installing Frigate on Your NAS
After securing your hardware and preparing a dataset for your footage, it’s time to install the Frigate container:
1. Navigate to the Apps section in TrueNAS Scale and select “Discover Apps.” 2. Search for the Frigate package and click “Setup Pool To Install.” 3. Choose the Data Pool you prepared for storing container files. 4. Confirm the installation process. 5. Under Network Configuration, enable the “No Auth” option for initial setup and adjust CPU and Memory resources as needed before hitting “Install.” 6. Wait for the deployment to complete.
Accessing the Frigate Web UI
With Frigate successfully running, you can now set up your cameras through its web interface:
1. Select the Frigate container and click on “Web UI (No Auth).” 2. In the pop-up, access the Configuration Editor by clicking the Cog icon. 3. Enter the names and RTSP paths for your IP cameras under the Cameras section, ensuring unique names and paths for all devices. 4. Update your admin password under the Users tab for enhanced security.
Secure Your Home with an Advanced NVR Setup
After following the above steps, you should see your camera streams populate in the Live section of the Frigate interface. It's crucial to log in using your new password and disable the “No Auth” option in the settings to protect your surveillance system from unauthorized access.
With Frigate and your NAS working in tandem, you can enjoy an efficient and powerful home security system, capable of monitoring your property seamlessly. Don't forget to explore additional features in Frigate like motion detection and alerts to optimize your security even further.
Transform your home into a fortress today—because when it comes to safety, there's no such thing as being too cautious!


 Brasil (PT)
 Canada (EN)
 Chile (ES)
 Česko (CS)
 대한민국 (KO)
 España (ES)
 France (FR)
 Hong Kong (EN)
 Italia (IT)
 日本 (JA)
 Magyarország (HU)
 Norge (NO)
 Polska (PL)
 Schweiz (DE)
 Singapore (EN)
 Sverige (SV)
 Suomi (FI)
 Türkiye (TR)
 الإمارات العربية المتحدة (AR)