Unlocking the Secrets: How to Use BitLocker to Secure Your External Drives in Windows
2025-01-04
Author: Siti
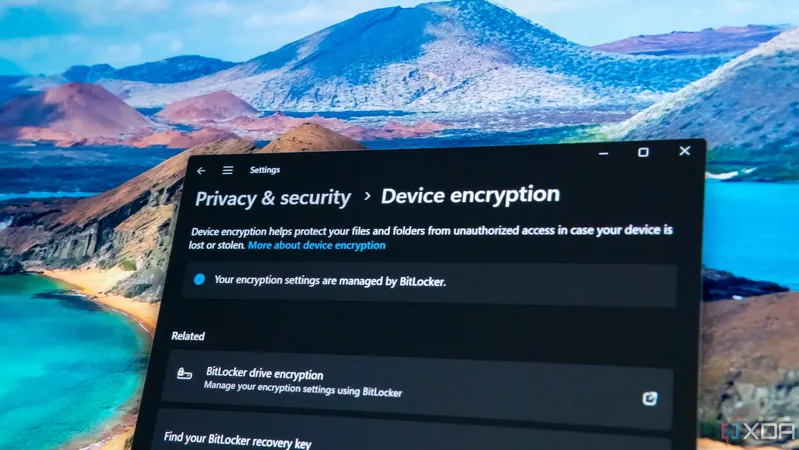
When it comes to safeguarding your data, Windows offers a powerful tool known as BitLocker, available on Windows 11, Windows 10, and earlier versions for select users. This built-in security feature is designed not just for the operating system drive but also works wonders for external drives, allowing you to encrypt your USB sticks and external hard drives effortlessly. However, you should be aware that BitLocker is only accessible to users of Windows Pro, Enterprise, and Education editions.
Why You Should Use BitLocker for External Drives
BitLocker encryption is essential for individuals and businesses alike who wish to protect sensitive information. With data breaches on the rise, safeguarding the information on your external drives can prevent unauthorized access in the event your device is lost or stolen. BitLocker ensures that only those with the correct password can access the content, thus providing peace of mind.
Important Considerations Before Encrypting
Before initiating the encryption process, note that BitLocker is a Windows-exclusive feature—it won't encrypt drives for use on non-Windows systems. Additionally, you can encrypt a range of storage devices, including USB flash drives, SD cards, and external hard drives, as long as they utilize NTFS, FAT16, FAT32, or exFAT file systems.
To successfully encrypt a partition on an external drive, it must meet these requirements: - It must be the active partition. - It shouldn’t already be encrypted by another software. - The partition needs to have a minimum capacity of 250MB.
Step-by-Step Guide to Encrypt Your External Drive
Encrypting an external drive with BitLocker is a straightforward process that usually takes under a minute. Once encrypted, the drive will show a lock icon in File Explorer, signaling that data is secure. Here’s how to do it:
1. **Connect the Drive**: Plug in your external drive or USB stick. 2. **Access BitLocker**: Open the Windows search bar, type “BitLocker,” and select “Manage BitLocker.” 3. **Select the Drive**: Under "Removable data drives – BitLocker To Go," find the drive you want to encrypt and click on it. 4. **Start Encryption**: Click “Turn on BitLocker.” The system may ask you to choose how to unlock the drive; select “Use a password to unlock the drive.” 5. **Set a Password**: Input your chosen password and confirm. This password will be your key to accessing the drive. 6. **Backup the Recovery Key**: Don’t forget to back up your recovery key! You can choose to save it as a TXT file, copy it to a USB drive, save it in your Microsoft account, or print it for safekeeping. 7. **Choose Encryption Options**: BitLocker will give you options regarding encryption: - **Encrypt used disk space only**: Choose this if the drive is new. - **Encrypt entire drive**: Opt for this if the drive has existing files you wish to protect.
Accessing Your Encrypted Drive
To access your files on an encrypted external drive, follow these steps:
1. **Connect the Drive**: Insert the encrypted drive into your computer. 2. **Handle Access Denials**: You may initially see a message stating 'Location is not available' or 'Access is denied.' Simply click OK and proceed. 3. **Open File Explorer**: Navigate to “This PC” to view your drives. 4. **Unlock the Drive**: Double-click the encrypted drive, enter your password, and click “Unlock.”
Removing Encryption When It's No Longer Needed
If you decide you no longer need the encryption on your external drive, reversing BitLocker protection is an easy process. Insert the drive, enter your BitLocker password to unlock it, and then go back to the BitLocker manager and click “Turn BitLocker off” for that drive.
Final Thoughts
In a digital age filled with risks, being proactive about your data storage security is paramount. BitLocker provides a simple yet effective way to protect your external drives. So whether you're saving precious memories or critical business documents, encrypting your external storage should be top of mind. Don’t wait until it’s too late—secure your data today!

 Brasil (PT)
 Canada (EN)
 Chile (ES)
 Česko (CS)
 대한민국 (KO)
 España (ES)
 France (FR)
 Hong Kong (EN)
 Italia (IT)
 日本 (JA)
 Magyarország (HU)
 Norge (NO)
 Polska (PL)
 Schweiz (DE)
 Singapore (EN)
 Sverige (SV)
 Suomi (FI)
 Türkiye (TR)
 الإمارات العربية المتحدة (AR)